
You have a v2 Azure Virtual Machine that has been generalized and are ready to capture it using Azure PowerShell v1.0.x? All right, buckle your seat belt and follow this guide, at the end you should have your captured VHD in your storage account.
This post assume you already have a virtual machine on Azure that have been generalized and you want to capture it. You can find out how to generalize your VM and other alternatives for your capture in this article: Step by Step: How to capture your own custom virtual machine image under Azure Resource Manager
Capture VM image with PowerShell v1.0.x
Here is the 4 calls that you need to perform in PowerShell to capture your image...
# Login into Azure and select the desired subscription
Login-AzureRmAccount
Select-AzureRmSubscription -SubscriptionId {YourSubscriptionId}
# Deallocate the virtual machine
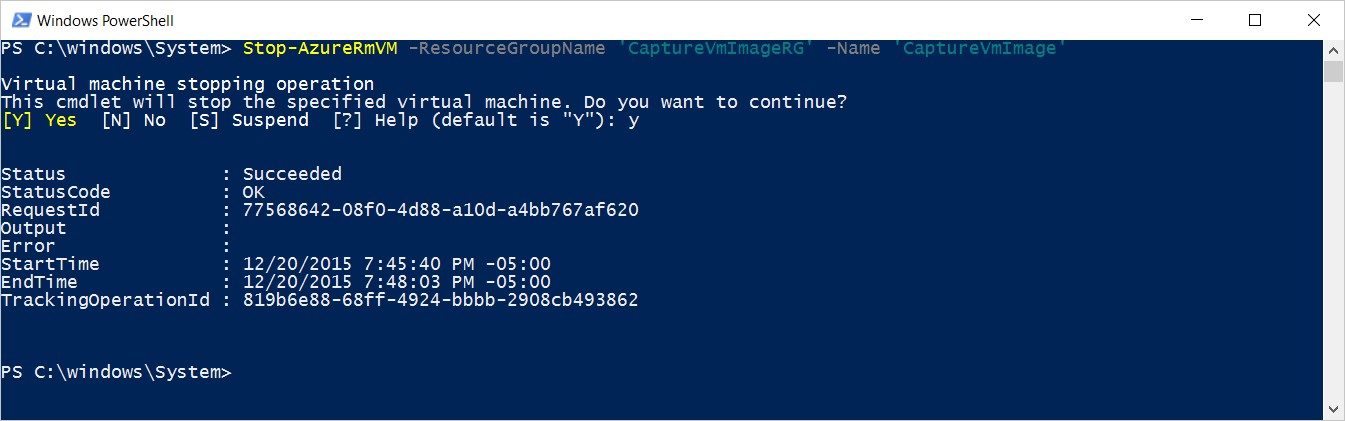
Stop-AzureRmVM -ResourceGroupName 'CaptureVmImageRG' -Name 'CaptureVmImage'
You should have a Succeeded status.
# Set the Generalized state to the virtual machine
Set-AzureRmVM -ResourceGroupName 'CaptureVmImageRG' -Name 'CaptureVmImage' -Generalized
You should have an OK StatusCode.

# Capture the image to storage account.
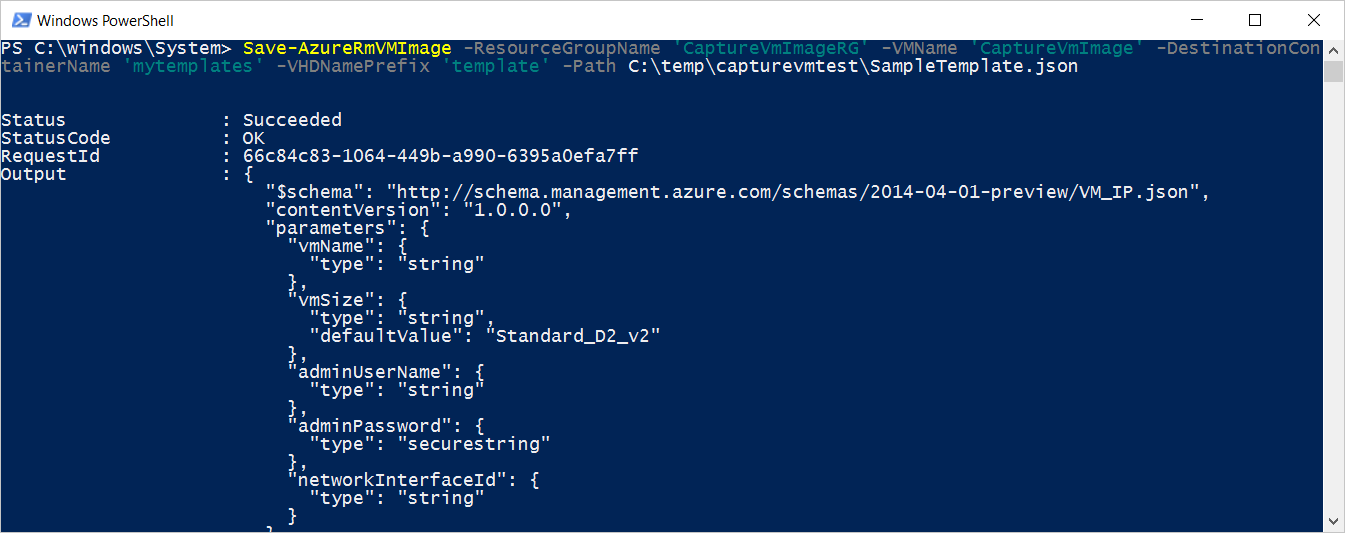
Save-AzureRmVMImage -ResourceGroupName 'CaptureVmImageRG' -VMName 'CaptureVmImage' -DestinationContainerName 'mytemplates' -VHDNamePrefix 'template' -Path C:\temp\capturevmtest\SampleTemplate.json
The -Path parameter of the Save-AzureRmVMImage cmdlet will download a copy of the the ARM template file generated in the storage account and save it where you specified. The JSON will also be outputted in the PowerShell window.
Jump to Capture is done, what's next?