Not so long ago it was possible (but painful) to deploy Windows Server virtual machines with the Azure Hybrid Use Benefit. I am glad to let you know that it's not a pain anymore! Let me walk you through how to do this in way fewer steps and using only Azure Resource Manager templates and marketplace images (also possible in pure PowerShell)
Why Azure Hybrid Use Benefit?
One of the major benefits of using Azure Hybrid Use Benefit is saving, up to 40% in some cases. Basically you pay the price of the virtual machine without the Windows licenses cost, think of it as paying the same price as a Linux virtual machine in Azure.
Use your on-premises Windows Server licenses that include Software Assurance to save big on Windows Server VMs in Azure. By using your existing licenses, you pay the base compute rate and save up to 40 percent.
Why is it simpler now?
Azure now have Bring Your Own Licenses (BYOL) images of Windows Server and Windows 10 directly in the marketplace.
This is what you needed to do before:
- Install Windows 10 or Windows Server on an On-Premise machine
- Sysprep the installation
- Upload the vhd to a storage account
- Create a VM (by template or script) using the custom image
This is what you need to do now to achieve the same thing:
- Create a VM (by template or script) using the new marketplace BYOL image
How to get the image names
Using PowerShell you can call the following
Get-AzureRmVMImagesku -Location westus -PublisherName MicrosoftWindowsServer -Offer WindowsServer

You can see the some now contains the BYOL suffix, simply select one of theses instead of your regular image and that's it!
Advertised available images:
2016-Datacenter version 2016.127.20170406 or above
2012-R2-Datacenter version 4.127.20170406 or above
2012-Datacenter version 3.127.20170406 or above
2008-R2-SP1 version 2.127.20170406 or above
For Windows Client:
Get-AzureRMVMImageSku -Location "West US" -Publisher "MicrosoftWindowsServer" -Offer "Windows-HUB"
Use this image inside your ARM template
To use the BYOL/HUB image sku in your deployment, put the image sku you want in the sku property on the imageReference object under the storageProfile of your virtual machine
"sku": "2012-R2-Datacenter-BYOL"
like in this:
(note: this is only a subset of a virtual machine resource)
"storageProfile": {
    "imageReference": {
        "publisher": "MicrosoftWindowsServer",
        "offer": "WindowsServer",
        "sku": "2012-R2-Datacenter-BYOL",
        "version": "latest"
    },
    "osDisk": {
        "name": "[parameters('virtualMachineName')]",
        "createOption": "fromImage",
        "managedDisk": {
            "storageAccountType": "Premium_LRS"
        }
    },
    "dataDisks": []
}
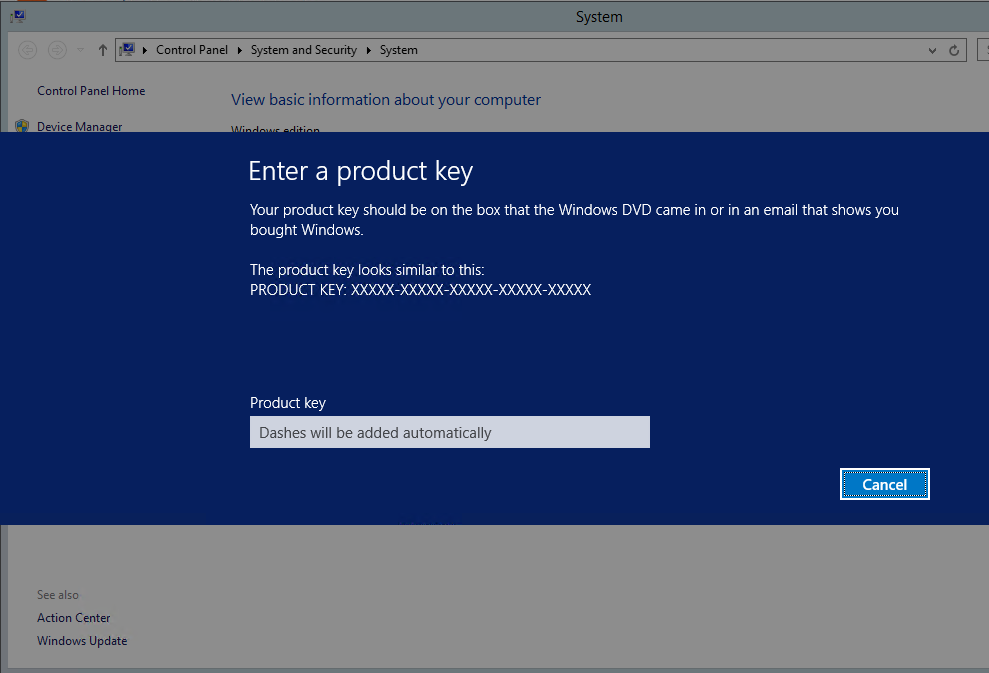
Once your virtual machine is created, remote desktop into it and you'll see that it is not registered and you'll be able to enter your product key.

Happy saving in Azure!

