
Wish you could deploy your own virtual machines from a custom image (specialized or generalized) using an Azure Resource Manager template? He're is how to do it...
Prerequisites
- A custom VM image captured using the Azure Resource Manager API (more detail just below)
Things to know before you get started
Here is few items you need to be aware before you continue...
The custom VM image need to have been captured using a v2 Compute resource provider
VM images captured from a v1 Compute resource provider (Microsoft.ClassicCompute) cannot be used to create virtual machines using a v2 Compute resource provider (Microsoft.Compute) or the other way around.
If you need a new image after reading this, see Step by Step: How to capture your own custom virtual machine image under Azure Resource Manager API in the References section.
The Custom VM image need to reside in the same storage account as your virtual machine at creation time
Another important limitation is that the image need to be present at creation time in the very same storage account that will host your virtual machine's vhd. The custom VM image can be deleted afterward without problems.
It's not that big thing if you are using a standard storage account. On the other hand, if you want your virtual machine to run on premium storage, leaving that P10 (or bigger) custom VM image around, doing nothing, will cost you the same money per month as any other premium storage disk. For more details, see Azure Storage Pricing link in the References section.
Creating a virtual machine from the custom image
Now the fun part... In a basic example, you'll see how to reference your custom image in the VM creation process using an ARM template.
We assume the storage account already exists since you are supposed to have your custom VM image already in it at this point.
When you created your custom VM image there was a json file generated at the same time. In the storageProfile node, take a look at the image URI and save this information somewhere, we'll need it later.
{
  "storageProfile": {
    "osDisk": {
      "osType": "Windows",
      "name": "template-osDisk.187d9455-535b-48b4-b10d-8370ec9bad42.vhd",
      "createOption": "FromImage",
      "image": {
        "uri": "http://vmcapturetestdemo.blob.core.windows.net/system/Microsoft.Compute/Images/mytemplates/template-osDisk.187d9455-535b-48b4-b10d-8370ec9bad42.vhd"
      },
      "vhd": {
        "uri": "http://vmcapturetestdemo.blob.core.windows.net/vmcontainerd1bd9914-b1e8-44a0-a06c-663eedda8d1a/osDisk.d1bd9914-b1e8-44a0-a06c-663eedda8d1a.vhd"
      },
      "caching": "ReadWrite"
    }
  }
}
The very first thing to do is to create an ARM template. There is plenty of way to do this. If you need full control over your template, you can create an Azure Resource Group project using the Azure SDK in Visual Studio. If you want to go this way I created an article a while ago that can help you get started named How to create and deploy a development machine on Azure using Azure Resource Manager template in Visual Studio (see the References section). If you intend to do this, take the storageProfile node from your generated json file and replace that very same section in the template in Visual Studio. Be sure to adjust the image URI and vhd URI properties if needed.
There is a basic template that already exist for this in the Azure quickstart templates repo on GitHub and we'll use it.
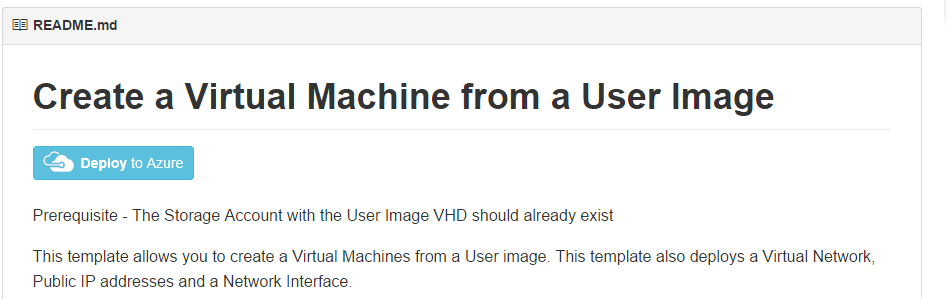
Browse to the template page 101-vm-from-user-image template and take a minute to check the readme section. This template creates a VM from a custom image, a virtual network, a public IP and a NIC.
Before you click the Deploy to Azure button, we'll take a look at the template parameters. There is more parameters than the three listed below, we'll only concentrate on those that are related to the custom image.
Custom VM image related parameters in the template
"parameters": {
    "userImageStorageAccountName": {
      "type": "string",
      "metadata": {
        "description": "This is the name of the your storage account"
      }
    },
    "userImageStorageContainerName": {
      "type": "string",
      "metadata": {
        "description": "This is the name of the container in your storage account"
      }
    },
    "userImageVhdName": {
      "type": "string",
      "metadata": {
        "description": "This is the name of the your customized VHD"
      }
    }
  }
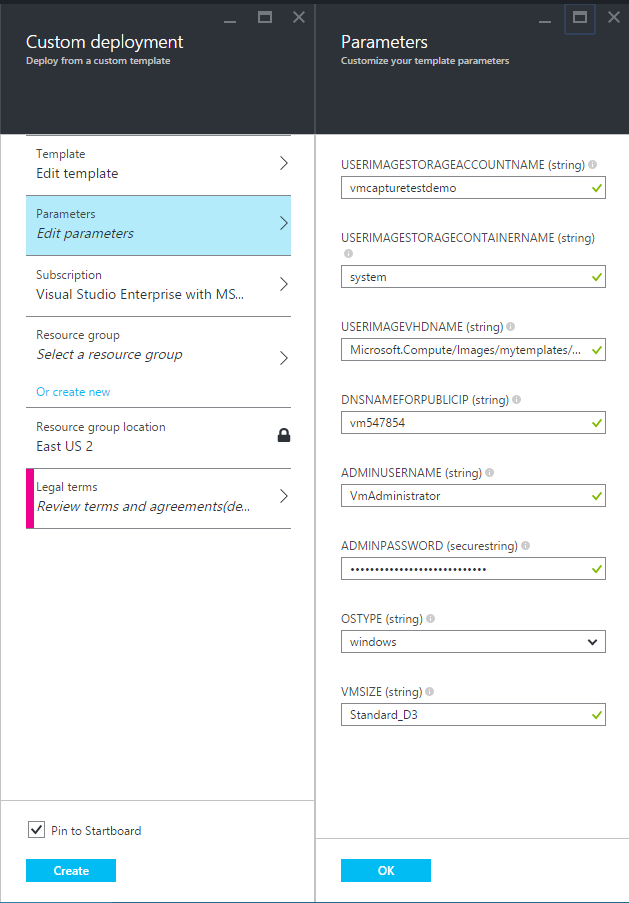
userImageStorageAccountName
Correspond to the storage account name where your vhd will be created but also where your custom image is located.
Ex: In our image URI, it correspond to the subdomain vmcapturetestdemo in the host blob.core.windows.net
http://vmcapturetestdemo.blob.core.windows.net/system/Microsoft.Compute/Images/mytemplates/template-osDisk.187d9455-535b-48b4-b10d-8370ec9bad42.vhd
userImageStorageContainerName
Correspond to the storage account's container.
Ex: In our image URI, it correspond to system. It is the first segment in the path.
http://vmcapturetestdemo.blob.core.windows.net/system/Microsoft.Compute/Images/mytemplates/template-osDisk.187d9455-535b-48b4-b10d-8370ec9bad42.vhd
userImageVhdName
Correspond to the blob filename.
Ex: In our image URI, it correspond to Microsoft.Compute/Images/mytemplates/template-osDisk.187d9455-535b-48b4-b10d-8370ec9bad42.vhd. It is all the remaining path after the container name.
http://vmcapturetestdemo.blob.core.windows.net/system/Microsoft.Compute/Images/mytemplates/template-osDisk.187d9455-535b-48b4-b10d-8370ec9bad42.vhd
Time to deploy
You can now click the deploy button from the template page you just opened.

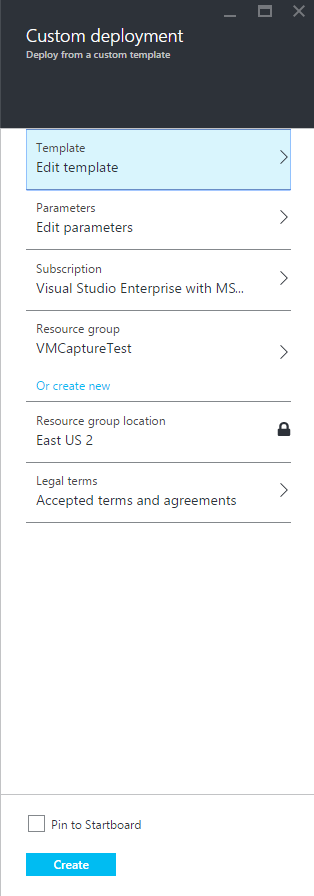
You will be redirected to the Azure preview portal on the Parameters section of a Custom deployment blade. Fill the parameters values as needed and click the OK button.
If you need more information about a parameter you can click the little exclamation mark near the parameter name in the portal, ex:

You can change your subscription if needed.
Now for the Resource Group, choose your storage account's Resource Group.
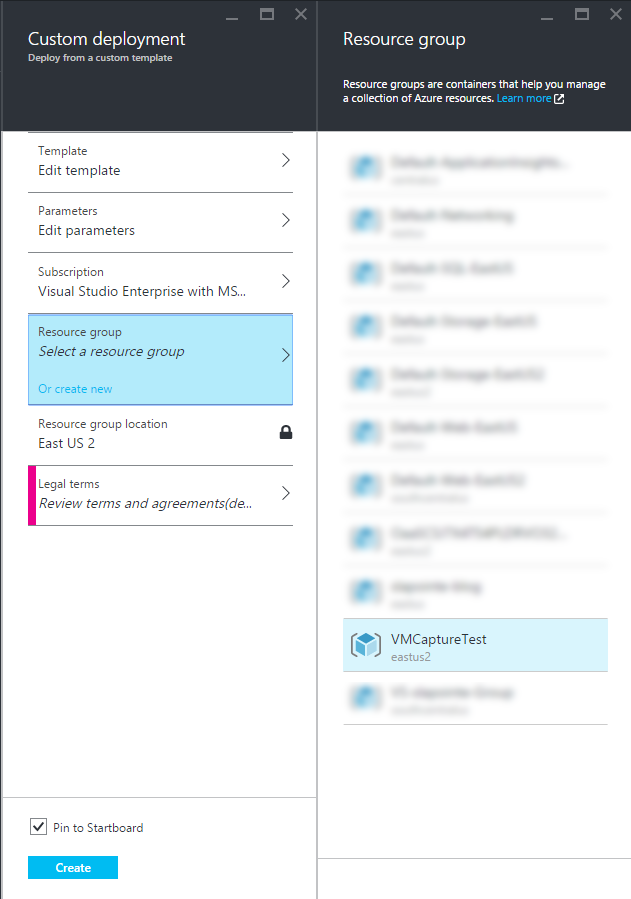
You can ignore Resource Group location since you are not creating a new one.
Click the Legal terms section, read the Legal terms and click the Buy button when ready.
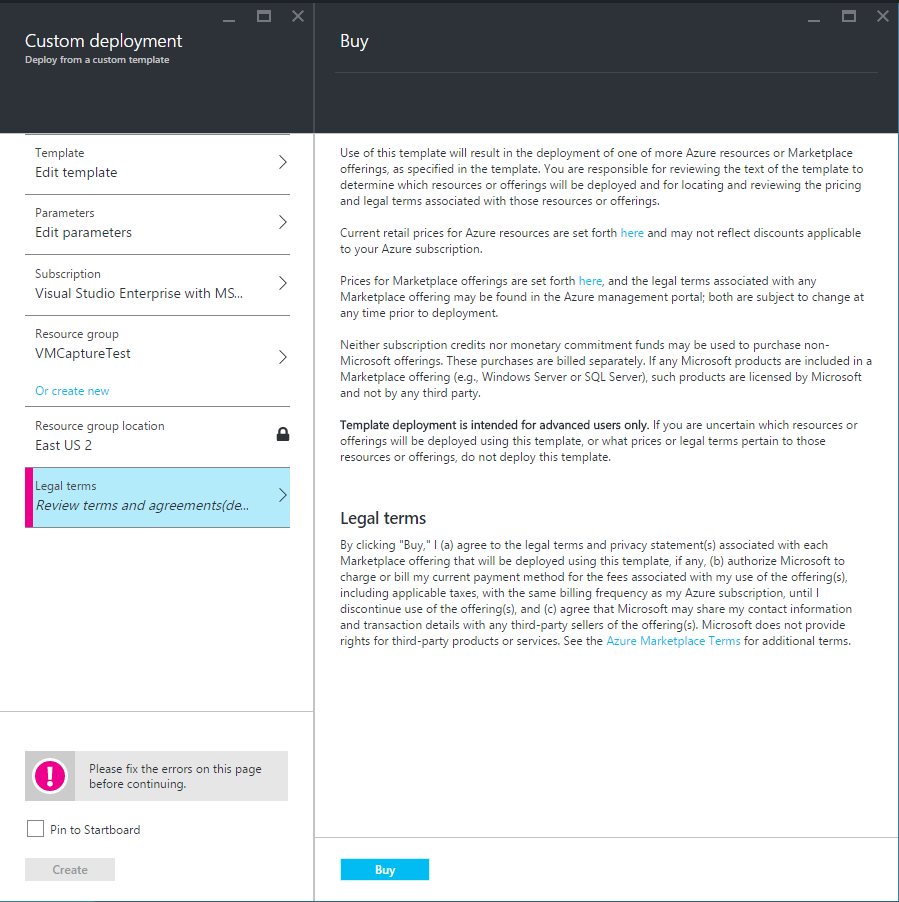
As a last step, click the Create button to start the template deployment.
If all goes well you'll have a new virtual machine named MyVm for you to play with.
Have fun!